Have you ever faced a stubborn wall or a picture frame that refuses to stay put? We’ve all experienced that little frustration as a weekend DIY enthusiast. Securing a shelf without it ending up on the floor is a universal challenge, especially as winter approaches and the urge to refresh our interiors grows. While the strength of a wall anchor may seem like a matter of luck or a professional’s secret, a few handy tips can make all the difference. Behind every successful installation lies a precise method, and a crucial detail that is often overlooked. Is it really just a matter of drilling a hole and inserting an anchor? What if the secret to a well-equipped wall lies elsewhere, in wise choices, skilled techniques, and clever adaptations?
Choosing the right anchor: the foundation of a strong fixation
Just like cooking, successful DIY starts with the right ingredient. The effectiveness of your attachment largely hinges on one simple equation: match the anchor to the wall, not the other way around. This principle is often underestimated but can make all the difference.
Every wall has its solution
Concrete, plaster, brick, cinder block… Our homes are filled with diverse materials. A load-bearing concrete wall doesn’t have the same strength as a plasterboard partition or a hollow brick wall. Ignoring the composition of your support can lead to anchors slipping, deforming, or simply pulling out under load. A quick glance or a gentle tap can often distinguish a solid wall from a hollow one, allowing you to choose the right type of anchor.
Types of anchors and their uses
There are as many types of anchors as there are DIY enthusiasts: universal expansion anchors, perfect for concrete; toggle or wing anchors, designed for plaster or lightweight partitions; and specialized anchors for hollow brick. Each type has its advantages, but the key takeaway is to match your anchor to the wall type and never force a universal anchor into an unsuitable material.
Common pitfalls to avoid for reliable fixation
One of the most common mistakes is selecting an anchor that is either too short or too long for the wall. An unsuitable model can cause damage, leading to cracks or sagging. It’s worth spending a few extra seconds identifying your support rather than having to patch a poorly made hole later.
Mastering the drilling process: ensuring a perfect hole
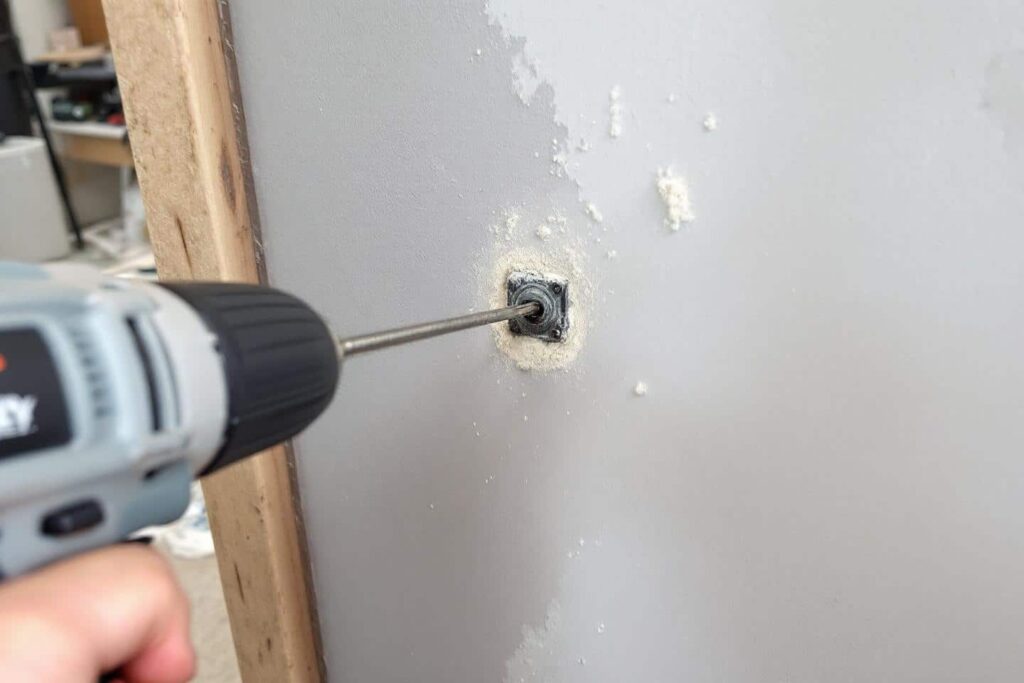
Once you’ve carefully selected your anchor, the drilling process becomes crucial. A simple miscalculation in diameter or depth can compromise the entire fixation, and the furniture that depends on it. Precision is now your best ally.
Diameter and depth: the golden rule
There’s no room for approximation: the diameter of the hole must perfectly match that of the anchor. If it’s too wide, the anchor will wobble; if it’s too narrow, it won’t fit and may bend or break. A handy tip to remember: each box of anchors indicates the recommended drill bit diameter, which should be followed closely. The same goes for depth, ensure you drill slightly deeper than the length of the anchor to avoid unwanted compression.
The right tools for a clean and precise job
A successful drilling job requires an appropriate drill and a sharp bit. Avoid improvising with unsuitable equipment or worn-out tools. Sometimes, simply replacing a dull bit can transform the entire experience. The motion should be firm and perpendicular, especially on fragile surfaces, to avoid weakening the wall or creating unwanted chips.
The importance of verification for peace of mind
Before inserting the anchor, a quick check is essential: the hole must be clean, free from dust that could reduce adhesion. A quick blast of air or a vacuum can make all the difference. For the perfectionists, trying to insert the anchor dry can ensure it’s neither too tight nor too loose.
Pro tips for a durable fixation
To ensure the stability of a shelf, a large mirror, or the family television, investing in those small extras that make a difference always pays off. Winter is actually the perfect season for these projects, conducive to cozying up and reimagining our interiors.
Adapting to every situation, including unusual walls
Some surfaces can be trickier: old partitions, damaged walls, corners, or areas with questionable adhesion. The trick? Reinforce drilling with an appropriate technique: place a wooden shim inside to support the anchor on cracked plasterboard, opt for long anchors to penetrate hollow spaces, or use expansion models to ensure load distribution.
DIY bonus: small touches that make a big difference
Before drilling, placing a piece of masking tape over the area helps limit chipping, an important detail on tiles or freshly painted surfaces. Never underestimate the importance of dusting: this step ensures optimal adhesion of the anchor. Some professionals even add a bit of glue or resin into the hole (on porous walls) for an unshakeable result. However, be cautious not to make future interventions impossible!
Key takeaways for reliable anchors
- Identify the wall material before any intervention.
- Choose the appropriate anchor based on the nature of the support.
- Respect the diameter and depth of the hole to avoid approximation.
- Thoroughly dust the drilled area before installation.
- Adapt your techniques to unusual or fragile surfaces.
By following these guidelines, selecting the right anchor, drilling the appropriate hole size, and adapting to the wall material finally become a foolproof recipe. No more crossing your fingers with every drill press in hopes of a lasting result!
Securing items to the wall is now a straightforward task, allowing you to enjoy a secure and stylish interior as winter settles in. The art of the perfect anchor relies less on luck and more on a precise skill set that is accessible to everyone. The next time you face a delicate hanging, these tips will make all the difference. After all, DIY is about transforming everyday challenges into motivating successes, especially when the long November evenings invite us to perfect our cozy nest.