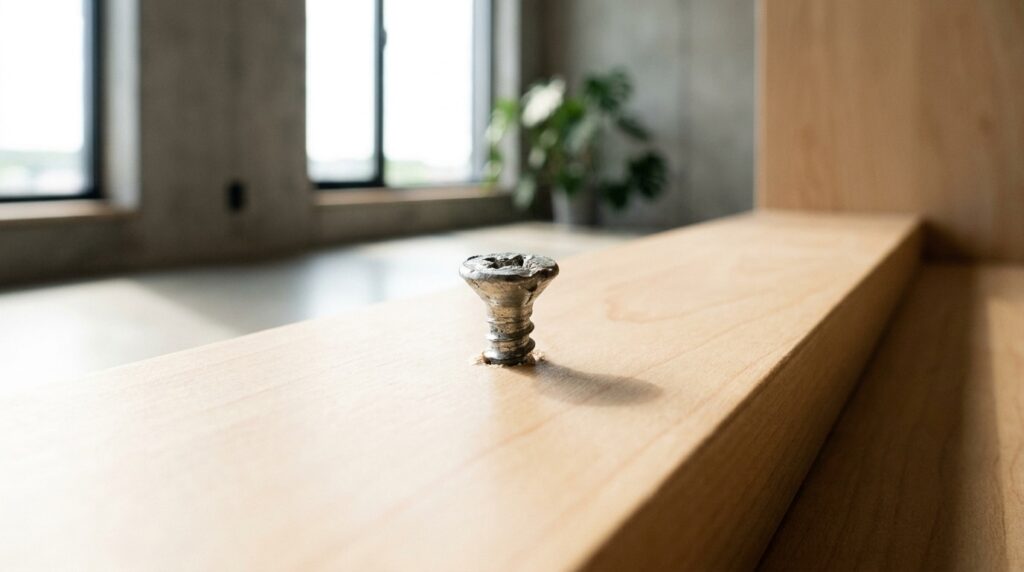
As spring comes to a close, homeowners are diving into renovation projects to enhance their properties before the summer season. During a refresh or preparations for a sale, a tiny obstacle can often threaten to waste precious time and damage materials: the infamous stripped screw with its completely smooth head. Faced with this common issue in home improvement, the anxiety of potentially harming the surrounding material is very real. Fortunately, there are effective methods, inspired by true carpentry professionals, to tackle this challenge without causing any aesthetic or structural damage.
The miracle of rubber and the right bit for perfect grip
When the metal is worn down, the screwdriver tragically spins in place, rendering traditional removal impossible. The quickest trick for successfully extracting a stripped screw involves a simple piece of rubber. By placing a flat, wide rubber band between the screw head and the tool, the soft material conforms to the damaged grooves and compensates for the wear. All that’s needed is to apply firm pressure and turn slowly with a properly sized bit, ideally one that is slightly larger or shaped differently than the original. This brilliant technique promotes unexpected grip, preserving the integrity of a stylish baseboard or door frame without the need for heavy equipment.
Locking pliers and screw extractors: professional techniques for desperate cases
If the gentle method doesn’t suffice or the metal has deteriorated completely, another approach guarantees the preservation of your interior arrangements. When the offending head protrudes even just a few millimeters from the wood or wall, locking pliers become indispensable. Their securely locked jaws grip the cylinder from the outside, providing a powerful lever to initiate rotation. On the other hand, if the screw is flush or embedded, deploying a screw extractor is necessary. This small conical tool, equipped with a reverse thread, screws deeply into a hole drilled at the center of the damaged head, freeing the anchor without chipping the finish or weakening the wall.
No more dIY disasters: keep these four foolproof techniques in mind
The success of enhancing an interior often hinges on the calm management of unexpected technical challenges. To secure a project and avoid damaging living spaces, the methodical application of the right techniques makes all the difference. The order of action to preserve finishes is as follows:
- Insert a flat rubber band for instant grip.
- Carefully use an alternative bit to secure the mechanism.
- Utilize locking pliers on protruding heads for a firm grasp.
- Drill slowly followed by a screw extractor for the most embedded cases.
By mastering these technical moves, enhancing a room or rescuing a custom piece of furniture can unfold smoothly. As the beautiful days of spring settle in, perfect for major renovations, isn’t it the ideal time to inspect those stubborn fasteners in your patio woodwork or interior carpentry?