Do you enjoy our content?
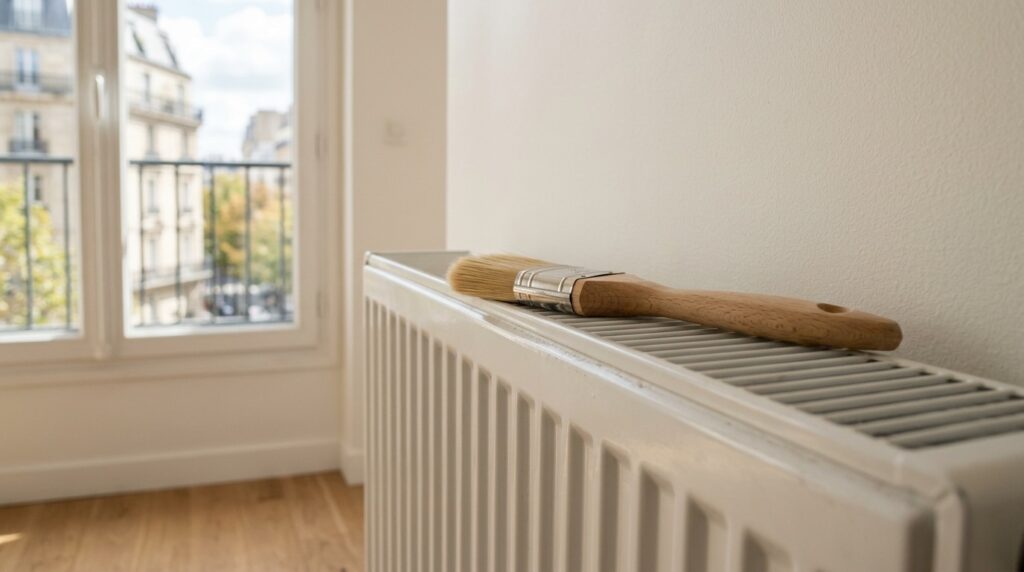
Every year, as temperatures begin to drop, a familiar refrain echoes through workshops and job sites: painters urge their impatient clients to wait until the radiators are completely cool before picking up a brush. This seemingly simple advice can make all the difference between a flawless finish and paint that flakes away at the first hint of chill. Now, as we transition into fall, an ideal window for these projects opens up.
Why this period is perfect for repainting a radiator
Between the end of summer vacations and the onset of colder weather lies a golden opportunity to repaint household radiators. The heating system has not yet been activated, which means the metal surfaces are at room temperature, neither too hot nor too cold. This is exactly the condition needed for paint to adhere properly. A warm or hot radiator prevents the paint from drying evenly, leading to unsightly cracks in just a few weeks. By tackling this task now, before the thermostat kicks in, one can avoid this common pitfall that undermines hours of hard work. This simple yet crucial tip is often overlooked, even as painters reiterate it year after year.
The key steps for successful painting on a cold radiator
Before diving in, a few essential steps should be followed to ensure a long-lasting result. First, thoroughly dust the entire surface with a dry cloth, then apply a gentle degreaser to remove fingerprints and greasy residues accumulated over the summer. Next comes light sanding with fine-grit paper, which helps the new layer adhere well to the old paint. This step is frequently neglected, yet it is transformative. Once the surface is clean and slightly roughened, applying a special heat-resistant primer designed for radiators is crucial before the final coat. Nowadays, there are paints specifically formulated for heated surfaces, capable of withstanding temperatures up to 80 degrees without yellowing or cracking. Two thin layers are always better than one thick coat, which tends to drip and takes longer to dry completely.
Common mistakes to avoid before the heating system restarts
Several errors are commonly made that can ruin even the best-laid plans. The first is turning the heating back on too soon after painting, thinking it will speed up drying. In reality, heat creates air bubbles beneath the still-wet paint, resulting in unsightly blisters. It is essential to allow at least 24 to 48 hours for the paint to dry completely at room temperature before reactivating the heating. Another frequent mistake is using standard paint that isn’t suited for extreme temperature fluctuations, which leads to discoloration or peeling come winter. Lastly, many forget to protect the floor and walls around the radiator, making paint splatters nearly impossible to clean up once they dry on tiles or hardwood. A simple plastic sheet or old sheets can prevent such mishaps.
Repainting a radiator before the heating season is not just the whim of a meticulous painter; it is a matter of technical common sense that ensures a durable finish and prevents a repeat of the task next year. From meticulous cleaning and discreet sanding to selecting the right paint, each step is vital for enjoying a like-new radiator throughout the winter. So, before the cold truly sets in, why not dedicate an afternoon to this small renovation that makes a significant difference?