As spring awakens, the desire to infuse light into our homes often takes precedence. The air softens, days grow longer, and this season provides the perfect backdrop for tackling small renovation projects. Faced with a tired, dull, or stained wall, the temptation to grab a roller and cover the imperfections is strong. Quick and efficient DIY seems to be the mantra of our time. However, the world of construction and real estate is built on an unchanging rule: preparation is key. Ignoring the foundational steps inevitably leads to disaster. This classic misstep affects countless home improvement enthusiasts. Investing in the most expensive, high-coverage paint on the market will never compensate for neglecting essential preparations. When problems arise, confusion reigns. Why does this vibrant new layer peel off so quickly? The answer lies in one critical step, often perceived as optional, but whose omission can doom an entire project.
The DIY nightmare: when the wall rejects its new color
The illusion of time savings by skipping preparation
In the rush to get started, skipping preliminary steps seems like the ultimate trick to shorten the timeline. Clearing the room, laying down protective tarps, and taping the baseboards already require significant effort. The urge to open the paint can and apply that first coat becomes irresistible. We often convince ourselves that the new layer will cover up minor imperfections and encapsulate old stains. This is a fatal misjudgment in assessing a renovation project. Overlooking the chemistry of materials and adhesion conditions leads directly to a waste of both money and time. Modern acrylic and oil-based paints require pristine surfaces to showcase their adhesive properties.
The shocking morning after: peeling paint everywhere
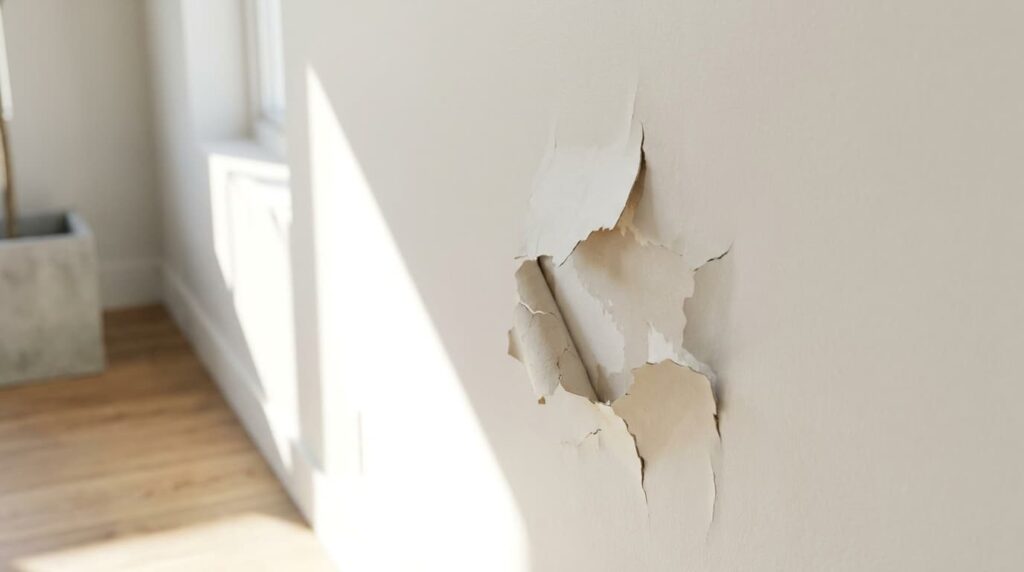
The real shock often occurs 48 hours post-project, once the drying time is theoretically complete. The result may have appeared flawless the day before, but the morning reveals a disheartening sight. Unsightly blisters mar the surface. In some areas, the paint cracks, lifts at the edges, or, worse, peels off in large sheets. At times, you can peel away the new coating like a piece of plastic film. The disappointment is immense, as the property’s condition is now worse than before the intervention. One must face the truth: the new material never bonded with its surface.
The well-kept secret to perfect adhesion for your paints
Why grease and dust are your rollers’ worst enemies
Even if a wall appears smooth and clean at first glance, it accumulates formidable residues over time. Micro-particles of pollution, smoke, kitchen vapors, and the simple oils from our hands create an invisible film. This layer acts as a true barrier to adhesion. Grease, in particular, is insidious, preventing the paint’s binders from penetrating the pores of the previous coat or finish. Instead of anchoring securely in the material, the new fluid glides over the surface, drying into a fragile crust. Professionals understand the detrimental impact these residues have on the longevity of a newly renovated property.
The miracle step not to be forgotten: thorough washing and degreasing
It’s high time to reveal the true solution for salvaging any painting project: a complete wash and rigorous degreasing of the wall before applying any masking tape. This fundamental operation cleans the surface, opens the pores of old paints, and radically removes greasy or dusty films. By performing this technical cleaning, the adhesion of the primer and top coat is significantly enhanced. It’s the ultimate safeguard against early peeling. A well-prepped room maintains its aesthetic value over the long term without degrading.
The guide to preparing your surfaces before the first stroke of paint
The recipe for a powerful cleaning solution to combat all dirt
The necessary materials are easily accessible, but they require strict adherence to proportions. To achieve a potent degreasing action without damaging the walls, prepare an alkaline solution. Here’s what you need for optimal cleaning:
- 5 liters of very hot water
- 100 grams of pine resin-based detergent or washing soda
- 2 large new construction sponges
The mixture should be vigorously diluted. For effective application, always work from the bottom up. This counterintuitive method prevents dirty water from running onto uncleaned areas and creating unsightly streaks. Use circular motions to scrub, focusing on areas that are naturally exposed to friction and vapor.
The foolproof technique for rinsing and allowing your wall to breathe
Washing loses its effectiveness if not followed by meticulous rinsing. Residual detergent left on the wall acts just like grease: it causes paint to lift. By changing the water regularly to keep it clear, wipe down the entire height of the wall, this time from top to bottom. After this crucial step, patience is essential. It’s imperative to wait for the surface to dry completely before any touch-ups or painting. Keep windows open to ventilate any remaining moisture.
My takeaway to prevent starting your project from scratch
The golden rules to ensure your coating’s longevity
The success of a wall refresh entirely relies on the chronological order of preparatory tasks. Protect the floors, wash thoroughly, rinse abundantly, repair holes after drying, and lightly sand to create a mechanical grip. This strict protocol ensures a durable renovation, enhances the property’s value, and immediately justifies the cost of materials. Every product purchased will thus unleash its full potential without the risk of rejection.
Patience and method as the only guarantees of a professional result
Proper preparation requires a minimum of twelve to twenty-four hours of lead time. This timeframe may seem cumbersome for impatient DIYers, but it represents the most valuable investment of time in the renovation process. This is how one avoids the drama of peeling finish after 48 hours. Respecting the material’s natural rhythm always takes precedence over speed to ensure lasting interior improvements.
By reaffirming the importance of wall preparation, you secure your efforts and budget sustainably. The harmony of a meticulously refreshed space completely transforms the atmosphere of a home. As the beautiful days settle in, are you ready to apply this professional rigor to transform your interior flawlessly?